How to batch watermark hundreds of photos at once
By Abdessamad BettalPublished 4 min read
The short answer
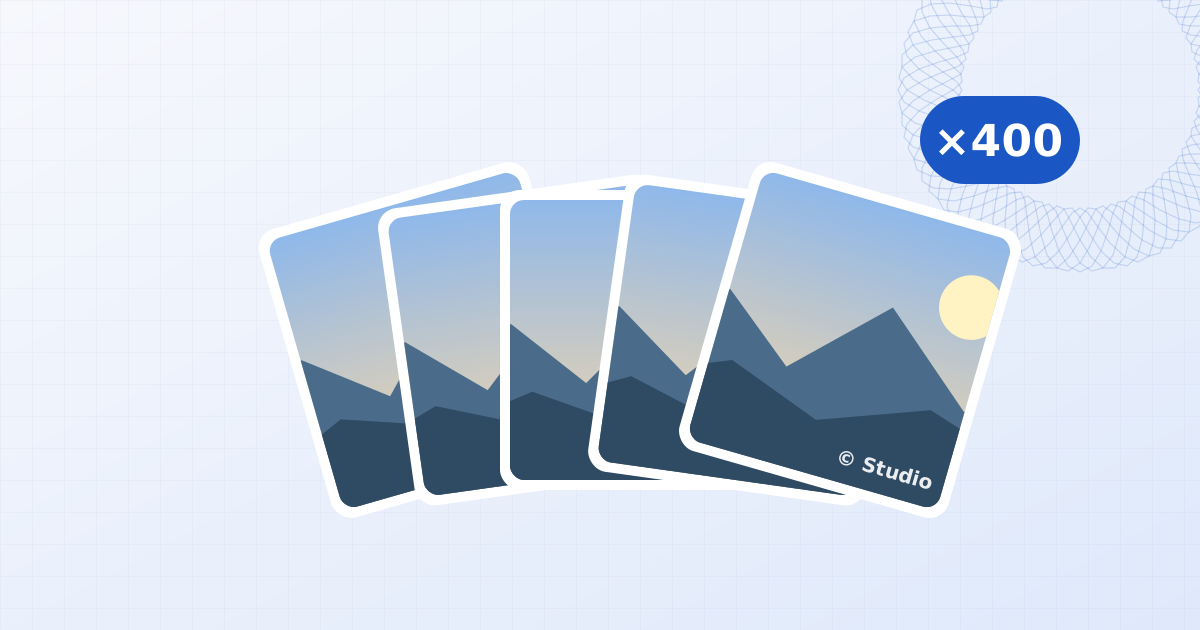
Put every photo in one batch, design the watermark on a typical image, check the extremes (a portrait, a very bright and a very dark photo), adjust only the photos that need it, then export to a ZIP or straight into a folder. Relative sizing means a single mark fits landscapes, portraits and squares without per-photo work.
On this page
Watermarking one photo is easy in almost any editor. Watermarking a 400-photo wedding, a property listing or a product catalogue is where most tools fall over: they cap the batch on free plans, make you upload every file, or apply a fixed-pixel mark that's huge on some images and invisible on others.
This is the workflow that avoids all three.
1. Prepare the files
- Export from your editor first. Batch watermarking works on finished JPG, PNG, WebP or AVIF files, not raw files. Do your colour and cropping in Lightroom, Capture One or similar, export, then watermark the exports.
- Keep the originals separate. Watermarked copies are for publishing; your clean originals are your archive. The tool never overwrites anything: files get a
-watermarkedsuffix you can change. - Group by destination. If one set goes to a client gallery and another to Instagram, run two batches with different sizes. It's quicker than fixing them afterwards.
2. Design the mark on a typical photo
Drop the whole folder onto the batch watermark tool. The first photo opens in the preview. Then:
- Start from a preset close to what you want (Corner credit, Diagonal tile, Signature, Label), or add your own text or logo layer.
- Drag the mark into place. Dragging near a corner anchors it to that corner, so it stays the same distance from the edge on every photo.
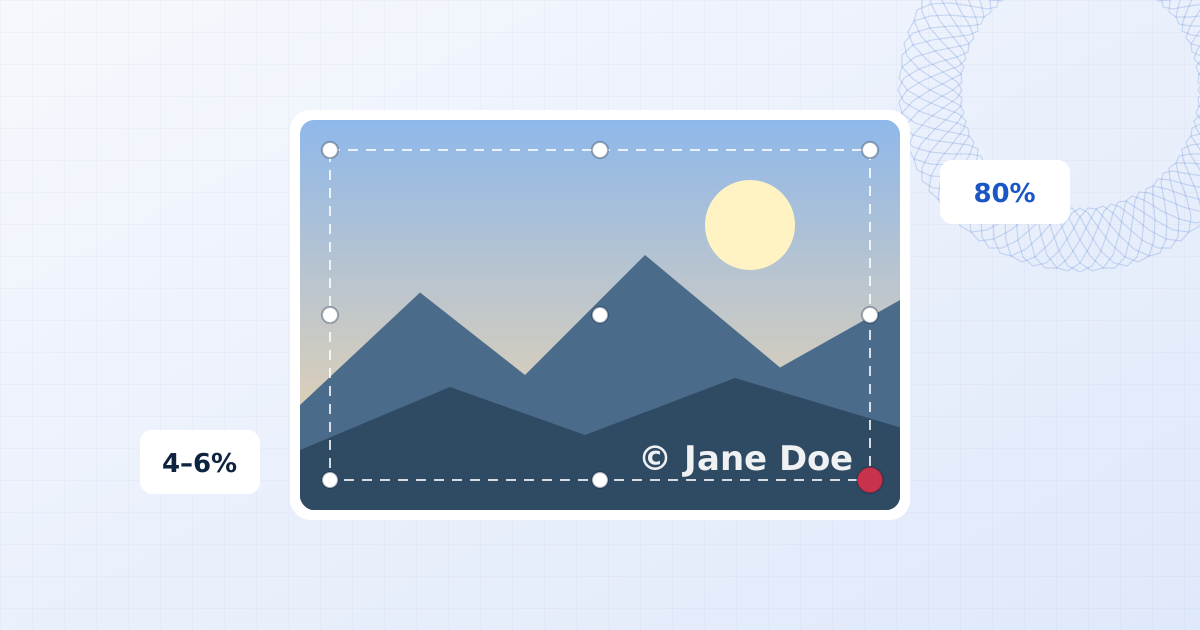
- Set size and opacity using the numbers in where to place a watermark: about 5 percent of the shorter side for a corner credit, 15 to 25 percent opacity for a tiled mark.
If you'll reuse this look, click Save current in the presets panel. Presets are stored in your browser, not an account.
3. Check the extremes, not every photo
You don't need to inspect 400 previews. Click through the photos most likely to break the mark:
| Check this photo | Look for | Typical fix |
|---|---|---|
| The tallest portrait | Mark too close to the subject's head or feet | Move to a lower corner, or reduce size slightly |
| The brightest image | White text disappearing into sky or snow | Add shadow or a background box |
| The darkest image | Dark logo lost in shadow | Use a light version of the logo, or an outline |
| One with the subject in your corner | Mark over a face or product | Adjust this photo only |
A mark that survives those four will be fine on the rest.
4. Fix the exceptions without touching the rest
For a photo that needs something different, select it in the strip and switch on Adjust this photo only. Move, resize or fade the mark; the shared watermark on every other photo is unchanged. A small red dot on the thumbnail shows which photos have their own settings.
Use this sparingly. If you find yourself adjusting more than one photo in ten, the shared placement is probably wrong. Move it and start again.
5. Export
| Setting | When to change it |
|---|---|
| Format: Same as original | Default. JPGs stay JPG, PNGs stay PNG (with transparency), WebP stays WebP. |
| JPG | Smallest files for photographs; no transparency. |
| PNG | Lossless, for graphics and images with transparency. Large for photos. |
| WebP | Smaller than JPG at similar quality; keeps transparency. Check your destination accepts it. |
| Quality | 85 to 92 is visually lossless for photos. Lower it only to hit a size limit. |
| Resize | Pick a long edge (2560, 1920, 1080 px) for web and social. Publishing a smaller copy than your original is protection in itself. |
Then choose how to receive the files:
- Download as ZIP: works everywhere. Fine for hundreds of photos.
- Save to folder (Chrome and Edge on desktop): writes each file straight into a folder you pick, so nothing large is held in memory. Best for very large batches.
- This photo only: export just the photo in the preview, for a quick check before the full run.
Why the batch doesn't slow your computer to a crawl
Each photo is decoded, watermarked, encoded and released before the next one starts. Memory use stays roughly the size of one photo plus the finished files, whatever the batch size. The preview uses a screen-sized copy, so editing stays responsive even with 45-megapixel files.
Everything runs in your browser tab. Nothing is uploaded, so the batch starts the moment you drop the files, not after a 2 GB upload.
Common problems
- "Some files were skipped": they weren't images a browser can open. RAW and PSD files never are, and TIFF opens only in Safari. Export them as JPG or PNG first.
- HEIC photos won't open: HEIC decodes in Safari only. In other browsers, export as JPG from your phone or Photos app.
- Animated GIFs come out still: the export is a single frame, saved as PNG.
- The watermark looks different from the preview: it shouldn't, because the preview and export use the same drawing code. If it does, a custom font may have failed to load; pick the font again and re-export.
Frequently asked questions
How many photos can I watermark at once?
There is no fixed limit. Photos are decoded, watermarked and encoded one at a time, so memory use stays roughly constant. Batches of several hundred full-resolution photos work on an ordinary laptop; for thousands, save into a folder instead of building one large ZIP.
Will the watermark be the same size on portrait and landscape photos?
Yes. Size and margins are measured against each photo's shorter side, so a mark 5 percent tall sits at the same visual size and distance from the corner on a portrait, a landscape and a square.
Can I give one photo a different position?
Yes. Select that photo and switch on 'Adjust this photo only'. Changes then apply to that photo alone, and its thumbnail is marked so you can find it later. Switch it off to return the photo to the shared watermark.
Does batch watermarking remove EXIF data?
Exported photos are re-encoded from the pixels, so camera metadata such as GPS location, serial numbers and capture settings is not carried over. Keep your originals if you need that data.
Batch watermark photos
Watermark hundreds of photos in one go. One mark adapts to every size and orientation, with per-photo tweaks, ZIP download or save-to-folder. Free and private.
Batch watermark photos